Showing posts with label collage. Show all posts

Saturday, 30 December 2017

A New Year Masterboard


I've been enthralled by the white fairy lights on trees and windows at this time of year, and so I decided to try my hand at a masterboard of whites and golds.  I really enjoyed the last one and have been itching to do another.


I started with white and buff acrylic paint pulled with an old credit card across a page of A4 prepped with gesso.  I then did a second layer with white and metallic gold acrylic paint.  It would have been good to snap a photo at this stage, but it did not occur to me until later... 😒

I then mixed a bit of golden yellow with white to make cream, and stencilled very small cream snowflakes over the gold bits.  I then stencilled very small acrylic metallic gold snowflakes over the white bits.  Finally, I used individual letters and numbers to stamp '1 Jan' and '2018'.  I also have a stamp that is slightly suggestive of a firework, so I also randomly stamped that all over as well.


These close-ups show a bit more detail:


Next, the tough part . . . cutting it all up:


This next photo show how the gold paint reflects the light:


So now to turn these into New Year cards ...

(...which are now posted here).

Sunday, 1 October 2017

Learning Composition: Lesson 2


I've moved on to lesson 2 of Jane Davies' downloadable workshop The Keys to Dynamic Composition: the abstract landscape.  This  is  a very different exercise than lesson  1.  The first photo is the composition midway through:


I'm glad to still be using up bits of my Gelli prints, albeit small bits, most of which got painted over.

The finished version (I think):


I can't say I'm satisfied with it, but that's not really the point.  I'm learning.  Perhaps one of the most important things I'm learning is to tolerate results that are less than satisfying.  While I've always known this is important and that I'll need to do a lot of 'meh' stuff to develop the skills and knowledge to make stuff that is really pleasing to me in its final form, knowing this in the abstract and knowing this in the doing have been distant relatives for me.  This has meant I haven't done a lot of doing!

Importantly, I also found the process enjoyable.  

It feels like it needs something further, but I don't know what that might be.  I'm also not sure about the maroon top; it's possibly too strong and though I tried to knock it back, I didn't want pink.

More to come...

Saturday, 30 September 2017

Two More from Lesson 1: Learning Composition


Two more attempts from lesson 1 of The Keys to Dynamic Composition, Jane Davies' downloadable workshop.


None of them look quite the same in the photos.  I'm sure knowing how to translate pieces into truer photos is a skill in itself.


I like the yellow one the best of them all, and it is the one in which I deviated most from the instruction -- or perhaps just stretched the instruction the most.  This is good learning for me about what I rely on for visual interest and what I am less adept at.

An enjoyable process of learning so far.  I also really like that it gives me a use for my Gelli prints (bits of which are incorporated into both).

I'm looking forward to lesson 2.

Saturday, 23 September 2017

Learning Composition


I know very little about composition and so I often get stuck when trying to do collage.  As a result, I rarely do collages even though I really love them.  So I decided to try the workshop from the Jane Davies Studios called The Keys to Dynamic Composition.  She's got a bunch of downloadable workshops on the page, and you can find this one if you scroll down a bit.

So these are my first clumsy efforts from lesson 1.  Without giving too much away, one instruction from this first lesson is to work with a limited range of one colour.  My first two involve working with warm reds:


My next two efforts involved working with cool greens:


By the time I got to that last one, I had run out of ideas.  In fact, this photo is an upside-down version of it, which looks better to my eye than the original, right-side-up version.

So far, I really like the approach; it combines: 1) reading content (in a downloaded pdf), 2) short video demonstrations, 3) doing the exercise(s), and then 4) considering some reflective questions.  

In fact, I intend to do one or two more having written a bit (on a different journal page) based on the reflective questions.

It also feels really good to be using my art journal to experiment, learn, practice, reflect and just enjoy playing with shapes and colour.  There's something particularly freeing about the very focused approach and not needing it to be a little masterpiece (which isn't really realistic for me anyway).


Monday, 11 September 2017

Last Cards from First Masterboard


My intention with this first masterboard was to stick with it until I made cards from all of the pieces.  Too often, my attention is drawn to something else before I really learn what I've set out to learn from the current project or technique.

I played with pieces of paper, card and masterboard and got stuck for awhile (my normal pattern).  Got unstuck today and put these last three together:


I'm still debating whether or not to add anything else to the one below.  Maybe the textures and colours can stand alone...


Not really keen on how this last one (below) turned out.  I tried a variety of things, and nothing really seemed to work.  Still, happy to have completed the exercise.


And the last three together. I've not made envelopes yet, and I actually don't have any gelli prints from my overflowing folder that would work.  So...must get out the gelliplate!


All in all, I like the masterboard approach.  I'll definitely be doing it again.

Sunday, 3 September 2017

Card 4 from First Masterboard


Card 4 has involved stamping and painting over the top.  I received a Tim Holtz Stamping Platform as a belated birthday gift a few days ago, and it made this effort possible. 


I did learn something from my first attempt, which I'll pass along.  The stamp stuck to the paper, possibly from the amount of pressure I applied combined with the multiple layers of paint on the base page (from all that masterboard activity).  This resulted in pulling the paper out of its original position and the second stamping wasn't perfect (which is the point of the platform).  For the flower's stem (a separate stamp), I applied more ink to the stamp and less pressure, which meant I had to do a couple of pressings, but that was fine.

So I'm in the zone of using up old Gelli prints.  The size of this card required a larger size of envelop than could be made with a single piece of standard size paper (A4 here), and so I had to extend the top a little bit.  The brown is a little warmer than it looks, on my screen anyway, and the little butterflies are more visible.


And here are the two together.  The brown on the envelope is the same hue as the base of the card (the lovely colour of dark chocolate).  The two will be winging their way to the bearer of the stamp-platform gift.


The flower and stem stamps are from PaperArtsy -- JOFY Stamp Set 51 (also a birthday gift 😊).  

Monday, 28 August 2017

Card Number 3 from First Masterboard

Card Number 3 from First Masterboard

A  design similar to the last one, but with different coloured card layers, a wee effort at calligraphy, and an envelope made from a different Gelli-print.


A bit of edging and detail using a gold Uniball Signo gives it a bit more zip, the photo doesn't really pick it up. 


The colours of the card and envelop are far more similar than how it appears in the photos. 


Sunday, 20 August 2017

Masterboard -- First Attempt 

Finally experimenting with a masterboard approach to card making.  I was particularly inspired by the Paper Artsy video tutorial on the technique (you can see it here).
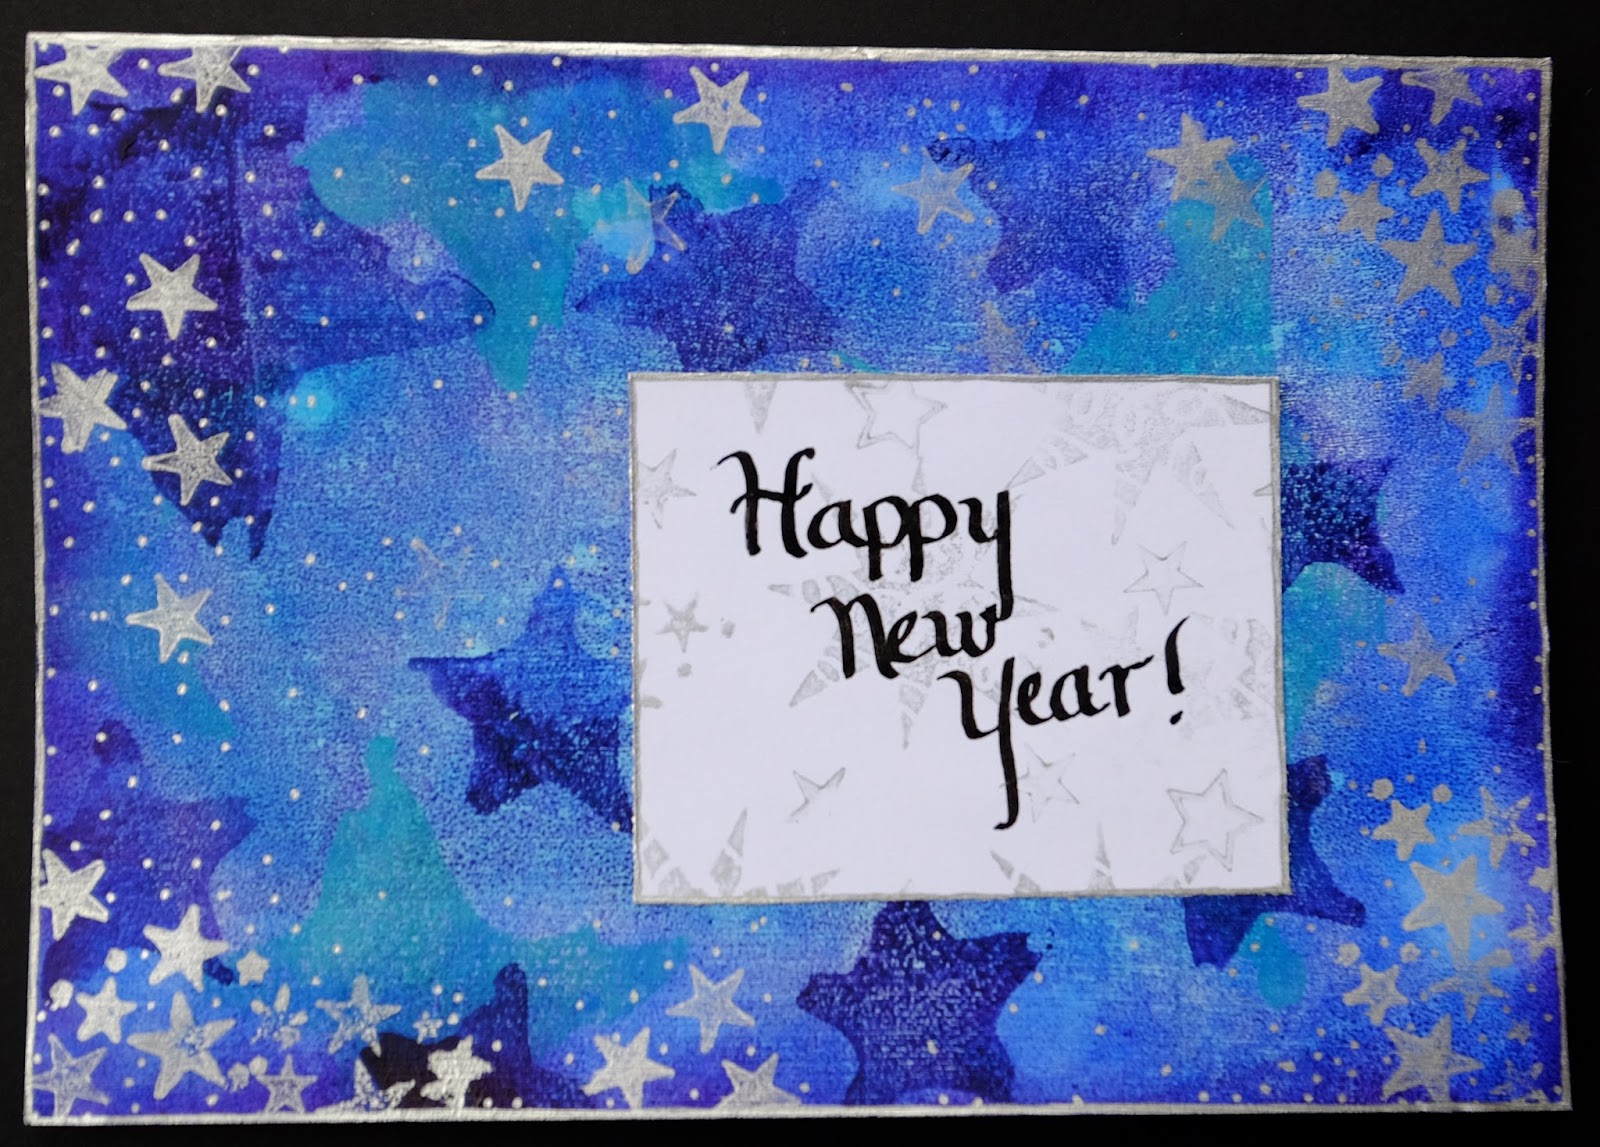
So I picked out a gelli-print from several years ago, one that I liked but that felt incomplete.  I've got a tonne of these that I don't know what to do with, and so I was hoping that a masterboard approach would get me unstuck.  

Unfortunately, I neglected to take a photo at this stage.  I brayered on a few more layers of paint and then stamped and stencilled flowers, lettering and butterflies on top of that:


I've included a few close-ups as well:


I then cut it up into various pieces:


I pulled out a few different colours of card to get a sense of what to do next -- a bit like trying on clothes (but so much more enjoyable).  


I sometimes stumble on the colour that feels like the perfect fit.  I can't say that happened this time, but I'm relatively satisfied with the first two cards:


The rest of the cards made from this masterboard can be found herehere, and here


Monday, 14 August 2017

Gelliprinting and Stencils

Mucking about with colour combinations I wouldn't normally consider


Saturday, 7 January 2017

New Year Cards for 2017 -- variations on a theme

 A series of cards that all started by gelatin printing directly onto folded card (white).


 Each has several layers of printing, some using stencils and others using wooden star ornaments.


Some, like the next four, were given a layer of gesso before doing the prints.  The card starts out more textured and the paint doesn't adhere as uniformly, giving even more texture but making the colour a little less vibrant.


They all have stamping and ink highlights added after printing.


Wednesday, 4 January 2017

A selection of cards

Various handmade cards 

using watercolour, gelliprint, and/or collage.